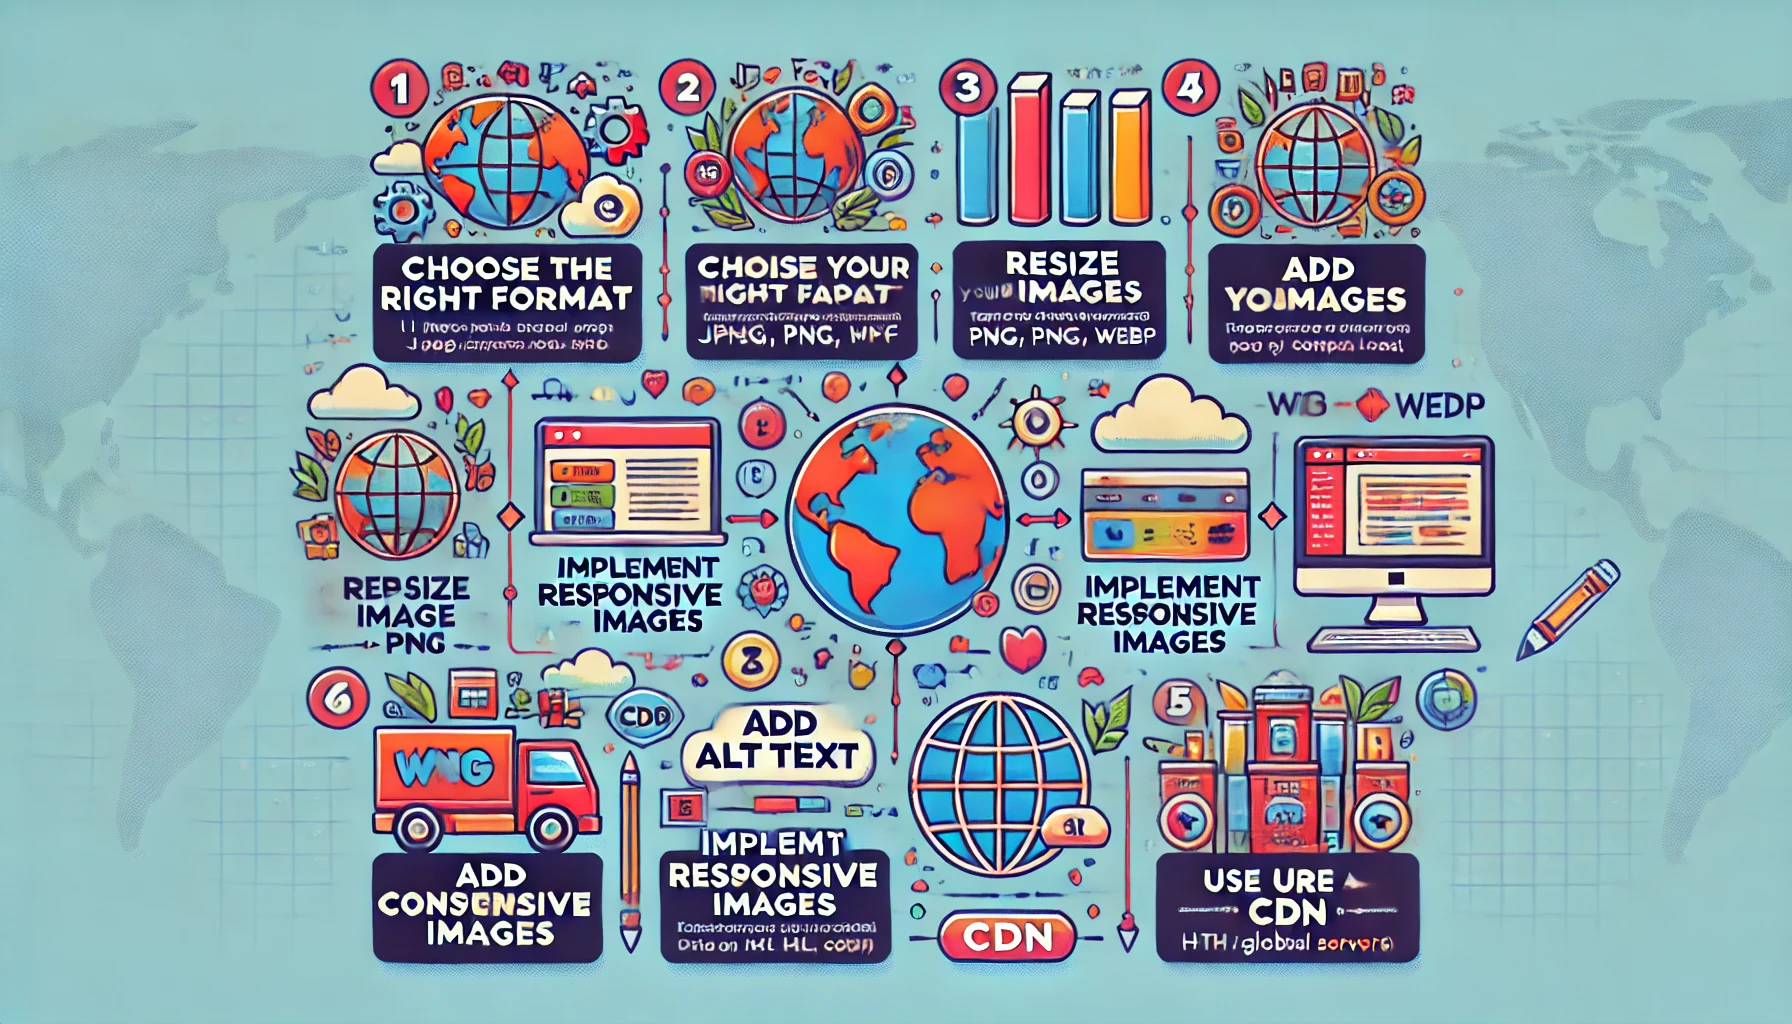
In the digital age, images are a vital part of web content. They enhance user engagement, convey messages effectively, and can significantly impact search engine rankings. However, improperly optimized images can slow down your website, leading to poor user experience and decreased traffic. This guide will walk you through the essential steps for converting images for web optimization, ensuring that your site is both visually appealing and performance-friendly.
Why Image Optimization Matters
Before we dive into the conversion process, let’s explore why optimizing images is crucial for your website. Search engines like Google prioritize page speed in their ranking algorithms. A faster-loading website can improve user experience, reduce bounce rates, and ultimately boost your search engine visibility. Moreover, optimized images take up less space, allowing your site to load faster, especially on mobile devices where bandwidth may be limited.
Step 1: Choose the Right Format
The first step in optimizing your images is selecting the appropriate file format. Common formats include:
-
JPEG: Ideal for photographs or images with gradients, JPEGs offer good quality with relatively small file sizes. However, they do not support transparency.
-
PNG: Best for images that require transparency or for graphics with text, PNGs provide high quality but often come with larger file sizes compared to JPEGs.
-
GIF: Suitable for simple animations, GIFs are limited to 256 colors and work well for short looping animations or simple graphics.
-
WebP: A modern format that provides superior compression, WebP can significantly reduce file sizes while maintaining quality. It's becoming increasingly supported across browsers.
Choosing the right format depends on the nature of the image and how you plan to use it.
Step 2: Resize Your Images
Large images can drastically slow down page load times. Resizing your images to fit the dimensions they will display on your website is essential. Here’s how to do it:
-
Determine Display Size: Decide on the maximum width and height for your images based on where they will be placed on your site.
-
Use Editing Software: Use tools like Adobe Photoshop, GIMP, or even online services like Canva to resize your images. Ensure you maintain the aspect ratio to avoid distortion.
-
Export Settings: When saving, choose the highest quality possible without exceeding the necessary dimensions.
Step 3: Compress Images
Once you’ve resized your images, the next step is to compress them. Compression reduces file size without significantly impacting quality. Here are a few methods:
-
Online Compressors: Websites like TinyPNG or JPEGmini allow you to upload your images and compress them automatically.
-
Software Tools: If you prefer offline solutions, software like ImageOptim or FileOptimizer can help you compress images effectively.
-
CMS Plugins: If you’re using a content management system like WordPress, plugins such as Smush or ShortPixel can automate the compression process for you.
Step 4: Implement Responsive Images
With the rise of mobile browsing, it’s important to ensure your images are responsive. This means they should adapt to different screen sizes without losing quality. Use the HTML <picture> element or the srcset attribute to provide different versions of your images for various screen sizes.
Example of responsive image implementation:
This code allows the browser to select the appropriate image size based on the user’s device.
Step 5: Add Alt Text
Adding alt text (alternative text) to your images is not only beneficial for SEO but also improves accessibility. Alt text provides context for users who may be visually impaired or when an image fails to load. Here’s how to write effective alt text:
-
Be Descriptive: Clearly describe what the image is about. Include relevant keywords, but avoid keyword stuffing.
-
Keep It Concise: Aim for a brief yet informative description, ideally under 125 characters.
Step 6: Use a Content Delivery Network (CDN)
To further optimize image loading times, consider using a Content Delivery Network (CDN). CDNs store copies of your images in multiple locations around the world, allowing users to download them from a server nearest to their location. This can significantly enhance loading speeds, especially for global audiences.
Conclusion
Optimizing images for your website doesn’t have to be daunting. By following these steps—choosing the right format, resizing, compressing, implementing responsive images, adding alt text, and utilizing a CDN—you can enhance both the performance and user experience of your site. Remember, a faster website not only pleases visitors but also ranks better in search engines, giving your content the visibility it deserves. Start optimizing today and watch your web presence flourish!